Sometimes a stock truck just isn’t enough. Whether you’re planning to go overlanding, offroading, or mall-crawling, if your vehicle has a high ride height, it can be nice to get some help getting in or out. Sidebars and steps are a great addition to both the usability and the look of your truck. Westin’s ProTraXX 4″ Chrome Oval Sidebars add both glam and style!
There are a few things to note before taking on this job. Toyota offers factory mounting points for sidebars, so you don’t have to drill into the frame! Secondly, keep in mind that the sidebars are only marked for which side they’re for on the bags they come in. The kit comes with brackets, bracket covers, and hardware including M8 bolts and washers, M10 bolts and washers, and M6 bolts, flat washers, and lock nuts.
Necessary Tools
- Flat Head Screwdriver
- RatchetRatchet Extension
- 10mm and 13mm Socket
- 6mm Hex Allen Wrench
- Grease
Install Guide:
Step 1: Remove factory sidebar plugs. Just inside the underbody of the truck, you will find black plastic plugs that can be removed with 2-3 turns of a flathead screwdriver. There are 3 sets of plugs on each side.
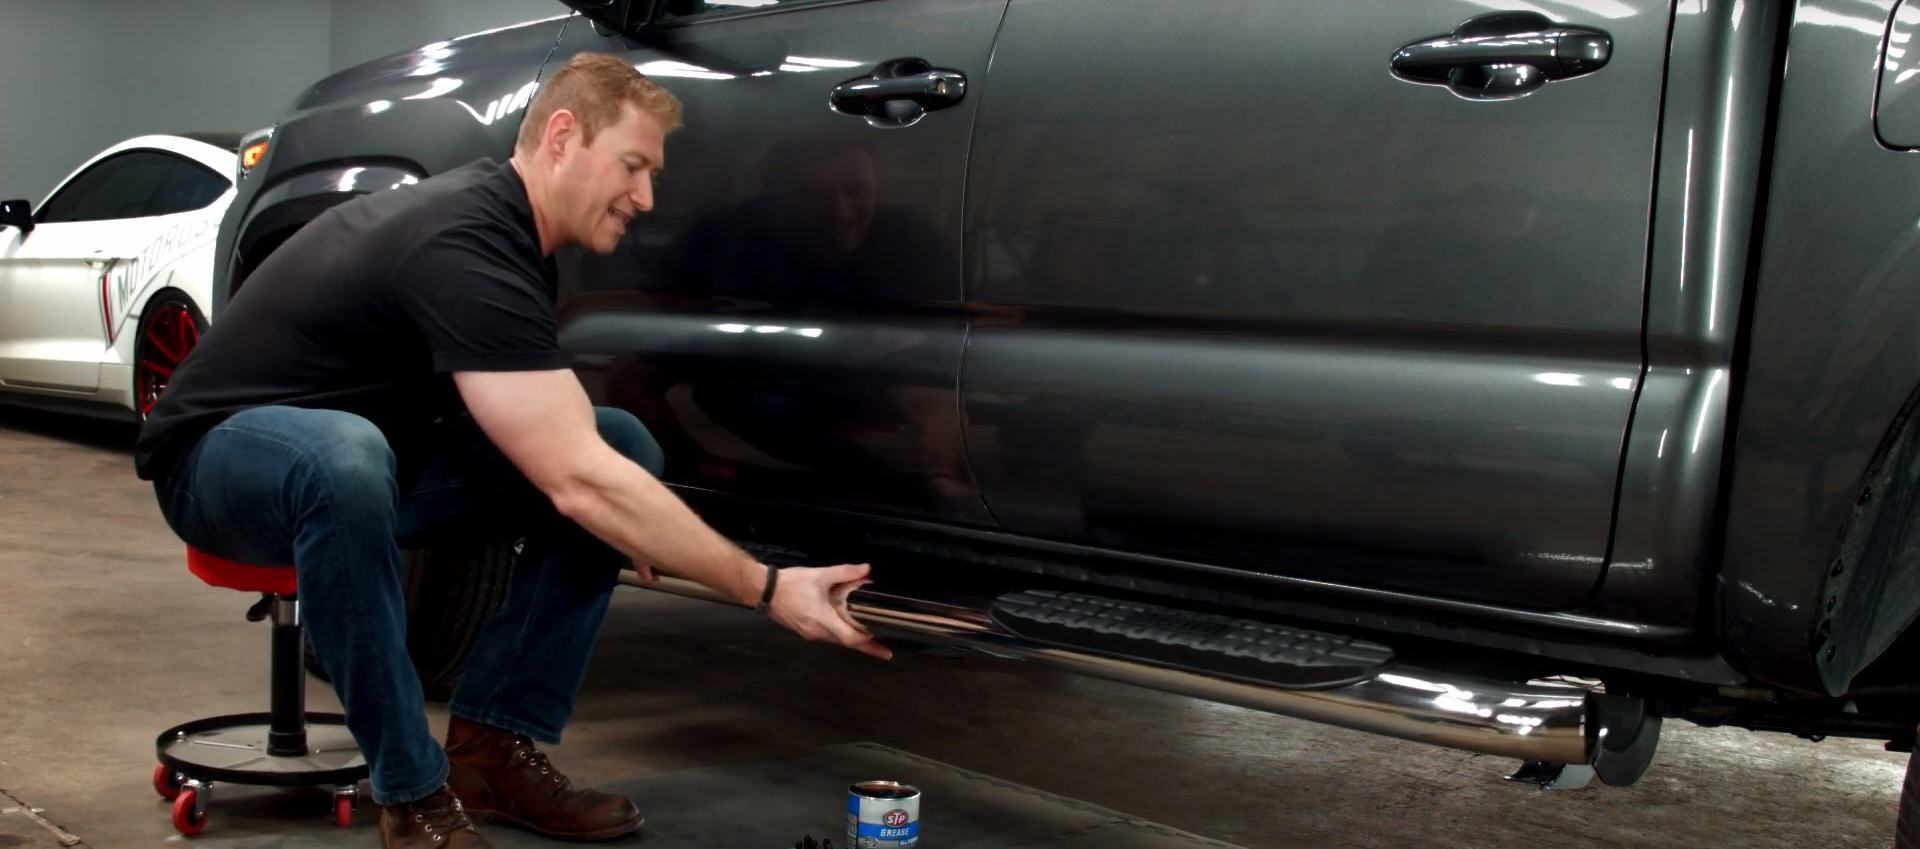
Step 2: Apply a little bit of grease to the mounting points to make sure the bolts and brackets don’t bond to the underside of the car.
Step 3: Thread the first M8 bolt (the one towards the center of the vehicle) about ¼ of the way in. Then, slide the mounting bracket in over the first bolt, and thread the second M8 bolt in through the hole in the bracket. Finally, hand tighten the bolts against the bracket. Repeat this for the remaining five brackets (three on each side).
Step 4: Rest the sidebar on the brackets with the black foot grips facing up. Make sure the bolt holes line up with those in the brackets, and make sure you’re putting the correct bar on the correct side of your truck!
Step 5: Thread the M10 bolts through the holes in the bracket. Tighten them evenly with your 6mm allen wrench to pull the bar towards the center of the bracket. Repeat for the other brackets.
Step 6: Pull one of the washers and the nylon nut off of each of your M6 bolts; align the bolt with the bottom hole on the bracket and the bracket cover.
Step 7: Go back through all of your nuts and bolts, and make sure that they are properly tightened.
Congratulations!
Enjoy the slick new look of your Westin sidebars!