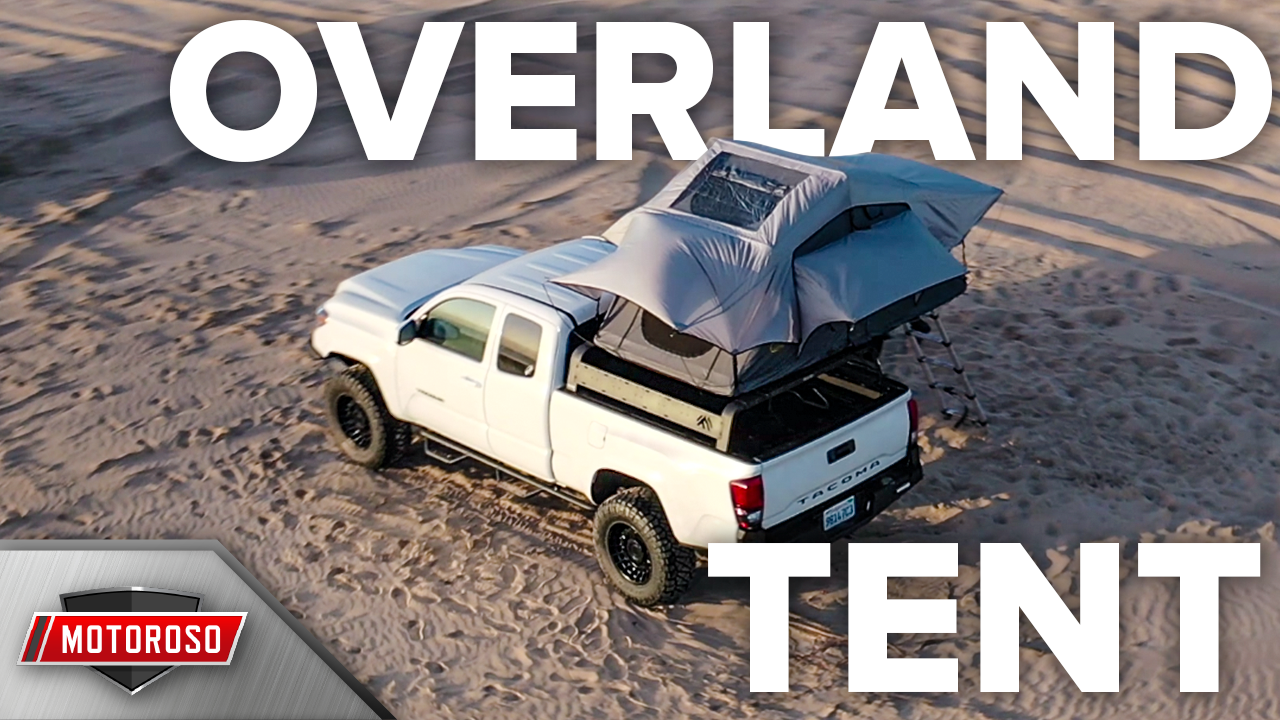
Budget Overland Tent: Smittybilt Gen2 and Annex
In this article, we’re going to show you a step-by-step how-to installation guide for the Smittybilt Gen2 Overland Tent. We just finished installing the Westin Overlanding Rack on our buddy Aaron’s Tacoma we made a video about that — check that out down below. We think that’s a fantastic platform and a fantastic product for the price and a great base for mounting this tent on. This article should be helpful if you’re mounting any Overlanding tent, but this is specific to the Gen2 from Smittybilt which we really like. We wanted to highlight, before we show you the installation guide, just how much value is packed into this product.
VIDEO: SMITTYBILT GEN2 OVERLAND TENT SPOTLIGHT AND INSTALL
Price Point
If you’ve been shopping for Overlanding tents at all you’ll know that products like CVT and Tapui can cost between $3K – $4K, and that is just a lot of money for an Overlanding tent, even if they are exceptionally good products. This Gen2 Overlanding series is only $1,400 and add another $300 if you want the annex room feature. There are a ton of features and functionality built in this product for less than half the price so we want to call attention to this. Let’s quickly talk about the features you’ll find in this tent.
Materials
First off is the material. The skin of this tent is extremely tough since it’s made out of 600D rip-stop polyester — this is not what you’re going to find in a backpacking tent because that needs to be light this thing needs to stand up to the test of time. It’s definitely going to do that. Inside the tent, they feature a great 60mm high-density foam mattress that even at 6’3” and 220lbs, I laid on that thing and it is super comfortable I could sleep on that thing all night. That is a really important feature possibly the most important feature.
Other Features
Inside of course it also has all the zippers, mosquito nets, and the rain fly to protect from all the elements. They also even include a led lighting strip that can be wired right into the truck and you got a little bit of lighting when you’re inside the tent at night and it has that heavy-duty telescoping ladder to support the fold-out portion of the tent so really frankly it’s got all the features that you would expect to find in a top of the line product from another brand that might cost $4,000 built-in at $1,400.

The Annex Room
They also sell for $300 the Annex room which is made out of the same heavy-duty rip-stop material and it zips onto the bottom providing a storage area and a little private room right underneath the ladder so you can hang out, change, leave extra bags and clothes down there, and save room in the tent. Let’s get on with the installation.
Installation Guide
- On the bottom of the tent support platform, remove the (4) stickers covering the pre-drilled bolt holes.
- Prior to mounting your support bars, you must determine which direction you want the tent to open off of your rack. Position the bars so that they will mount perpendicular to the bars of your Overlanding rack, ensuring that the hinges face the correct direction.
- When you know how you want to mount the support bars, line up the support bars with the holes and make cut lines for trimming the support bars if necessary.
- Using a square, extend the cutting lines across all sides of the support bars to ensure a properly aligned cut.
- Measure twice and then cut the bars to the correct length.
- Using a file, smooth the ends of the cut bars.
- Using the supplied hardware, feed a bolt through the inside of the tent from under the mattress through one of the mounting holes.
- Place a nut inside the channel of the support bar and loosely secure it to the tent base. Repeat this process on the opposite side of the bar to attach the support bar to the tent.
- Tighten down both bolts aligning the sides with the base of the tent. Repeat this process to mount the second support bar.
- Slide (4) mounting plates into each of the support bars and place them towards the middle of the bar.
- Reinsert the end caps to ensure they don’t slide out when you move the tent.
- Peel off the stickers covering the ladder mounting holes.
- Apply Loctite to the ladder mounting bolts.
- Install both ladder mounts using the supplied hardware.
- Use the straps to re-secure the tent assembly.
- Get a second hand to lift the tent onto your vehicle, keeping in mind the orientation of the hinge to ensure the tent opens on the correct side. In our case we set it up to open on the passenger side of this Tacoma.
- Slide the mounting hardware to straddle the Overland rack bars.
- Using a tape measure, determine the exact location you want the tent to sit on your rack.
- Apply Loctite to the tent mounting threads.
- Use the supplied plate and nuts to secure the tent to the rack.
- You can now tighten down all your hardware.
- Install the ladder to the ladder mount using the supplied bolts, nylon washers, and nuts.
- Tighten this just enough so that there’s resistance and the ladder can still move.
- Extend the ladder to a reachable distance. Standing on your bed, use the ladder to leverage open the fold-out portion of the tent while pulling gently. Then set the ladder down to the ground and adjust your ladder height to ensure that the tent base is level.
- Secure the side latch on both sides of the hinges to ensure that the tent base stays exactly where you want it and re-secure the velcro cover to help keep the elements out.
- Insert tent poles into the drilled holes in the frame of the tent and place the hook end on the tent fly on all corners of the tent.
- Use the tightening strap to snug the fly to the tent.
All right, we hope you found this article helpful. if you don’t already have an Overlanding rack, you ought to check out that Westin Overland Rack. We think it’s a great pairing to this Gen2 Overlanding tent. Thanks for reading.