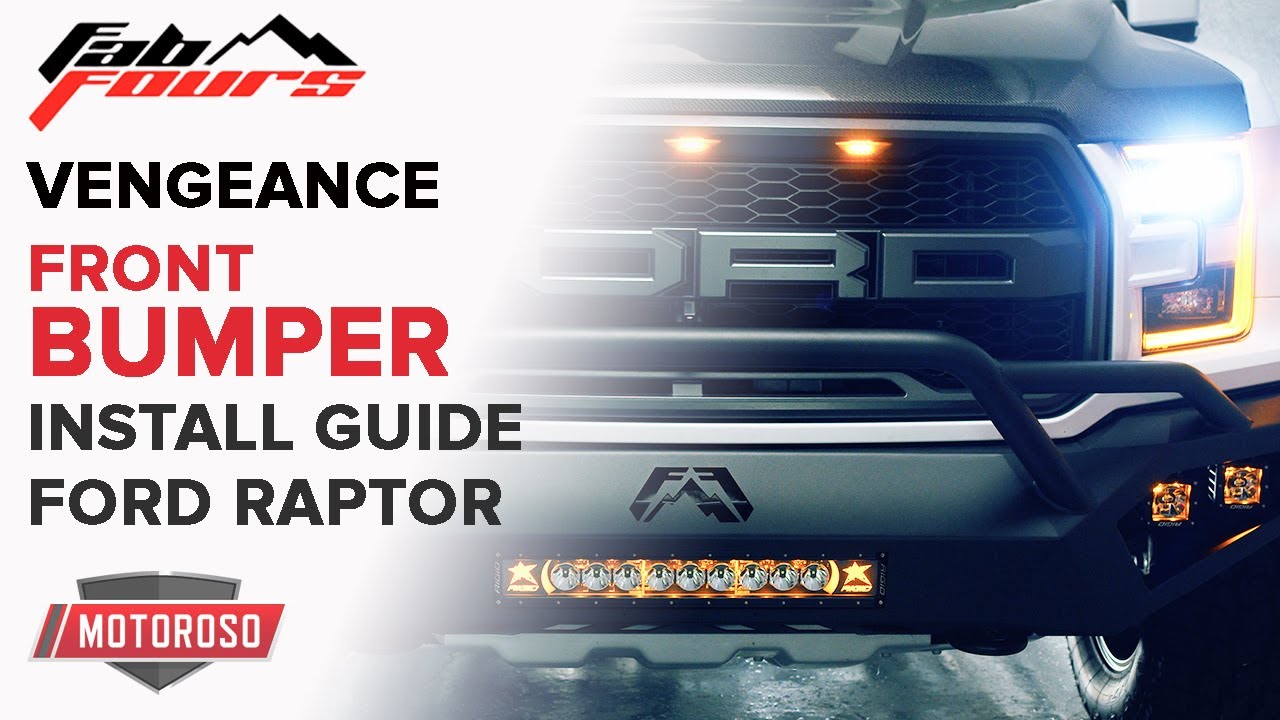
How to Install a Front Bumper on the Ford Raptor
This article is part one of a two-part installation guide series to show you how to install a new front bumper on your Ford Raptor. Now, we wrote a separate article about the Fab Fours Vengeance Bumpers, with all the details and specifications, so make sure you check that out. You can purchase the Fab Fours Front Bumper at Motoroso.com, where you can browse over a million top name-brand products sold by trusted vendors at great prices, and the shipping is always free with no minimum. Let’s get started.
VIDEO: FRONT BUMPER INSTALLATION GUIDE FOR THE FORD RAPTOR
We opted for the Fab Fours Vengeance Front Bumper, and as I said, we made another article about the product itself. This front bumper has the pre-runner bar, so it is going to interfere a little bit with the front-facing camera, but we will show you how little that affects it.
First, we’re going to take off the skid plate and unmount the front bumper. There is not going to be much to transfer over if anything, and we’ll mount up the new bumper. In this particular case, we had adaptive cruise control, so we had to buy the optional adaptive cruise control relocation bracket. We’ll show you how that goes in as well. It’s all pretty straightforward and you can do all this in your driveway with a basic set of tools. Let’s dig in.
Tools you’ll need for this job will include:
- 10, 11, 13, 15, 18, and 21mm Sockets
- Ratchet
- E6 Reverse Torque Socket.
- Panel Puller
- Flat Head Screwdriver
- Dremel
- Drill
- Drill Bits

Removing the Old Bumper
- Remove the skid plate, starting at the back with the (2) 15mm bolts holding in the rear spacer brace followed by the (4)13mm bolts holding up the front half of the skid plate and remove the skid plate.
- Drill out the rivets, holding the license plate mounting bracket onto the bumper, and remove the bracket.
- Pry their center bumper insert out using a panel puller.
- With the bumper grill cover off, use a reverse Torx E6 socket to remove the adaptive cruise control unit, making sure to unplug it from the wiring harness.
- Remove the (6) 21mm main nuts to hold the bumper onto the frame with 4 on the front and 2 on the rear.
- On the OEM bumper, there are also 2 outside support brackets held on with (2) 10mm bolts. If you don’t remove them, the bumper won’t come off.
- Once those are out, get that bumper out of there.
Installing the Adaptive Cruise Control Bracket
If your truck has adaptive cruise control, you’re going to need to install the adaptive cruise control relocation bracket. So this is where the fun begins. You’re going to need to remove the front grill.
- Start by removing the 10 pop clips.
- Remove the rubber radiator cover
- Undo the three connectors found at the hood hook.
- Remove the (4) 10mm upper mounting bolts for the grill.
- Remove the headlight bezels, starting with the top pop clip, then pulling the plastic bezel straight away from the chassis.
- Remove the seven pop clips, holding the grill to the dust shield.
- Undo the lower (2) 10mm mounting bolts and remove the grill.
- With the grill removed, lay it on a flat protected surface and remove (3) 10mm retaining nuts on the Christmas tree clips and loosen the (4) 10mm studs on the outer edge.
- Remove the (4) pop clips found on the bottom of the grill.
- Don’t forget that stupid 8mm bolt that Ford put in the center of the grill assembly.
- Separate the grill from the shroud.
- Make sure to remove the wiring harness from the chassis. Otherwise, it won’t be possible to plug into the adaptive cruise control unit once it’s been relocated.
- Measure out ⅞” away from the center of the shroud and placed the relocation bracket on the shroud, making sure it’s aligned with the edge of the shroud, and mark your holes.
- Drill out the mounting holes with a smaller bit at first making pilot holes for the larger drill bit.
- Install the adaptive cruise control unit onto the relocation bracket using the reverse torques E6 socket for the upper stud and 11mm for the supplied nuts.
- Mount the relocation bracket using the supplied 11mm nut and bolt from Fab Fours.
- With the bracket mounted on the shroud, we drilled a small hole in line with the bracket so that we could slide the wiring harness in there and we cracked the plastic, so we could slide the harness through.
- Using a Dremel is the easiest way to trim back the plastic to make sure that the cruise control unit can sit without interruption from the grill.
- Reinstall the shroud to the grill by reinstalling the (4) outer studs, center 8mm bolts, and the (4) pop clips.
- Reinstall the wiring harness before installing the grill onto the truck.
- With the harness in place and all connected, hang the grill back into position, align the grill in position and reinstall the lower 10mm bolts.
- Reconnect the (3) electric connectors at the top of the grill and reinstall the (4), 10mm upper mounting bolts.
- Reinstall the upper rubber cover with the (10) push clips.
- Reinstall the headlight bezel covers by pressing them back into the clipping points, starting from the bottom.
Now that the relocation of the adaptive cruise control unit is done, begin installing the bumper.
Installing the New Front Bumper
If you don’t have any friends or anyone to help you, you can put the bumper on something that could be adjusted like a stool.
- Once in place, you can use the provided 19mm bolts and washers to mount and tighten down the new bumper.
- With the bolts semi-tightened, you can slide and move the bumper around to make sure that it’s aligned perfectly before tightening it down fully.
- Reinstall the skid plate starting with the (4) 13mm bolts at the front
- With the front of the skid plate, secure in position, put the rear spacer bracket into position and tighten the (2) 15mm bolts
Congratulations on installing your new Fab Fours Vengeance Bumper!
All right, that wraps up our installation guide article for the Fab Fours Vengeance Front Bumper on the Ford Raptor. It only took us about 3-4 hours to install, and it’ll take you only about three without having to shoot all the footage of it. As you can see, the adaptive cruise control bracket relocation was the most time-consuming part of that entire project, so if you’re not doing adaptive cruise control and you aren’t doing lighting, the bumper would probably only take you about half an hour, since it is only six bolts. Wiring up the lighting and mounting them probably took another hour in total.
BUY YOUR RAPTOR FAB FOURS VENGEANCE FRONT BUMPER HERE!!!
Anyways, hope you found the article really helpful. Of course, all of the products we’ve installed here are available for purchase on Motoroso.com. Now, if you want to read more about the radiance rigid industries light, we got a separate article for those too. Thanks for reading.