How to Install BC Racing Coilovers on the S550 Mustang
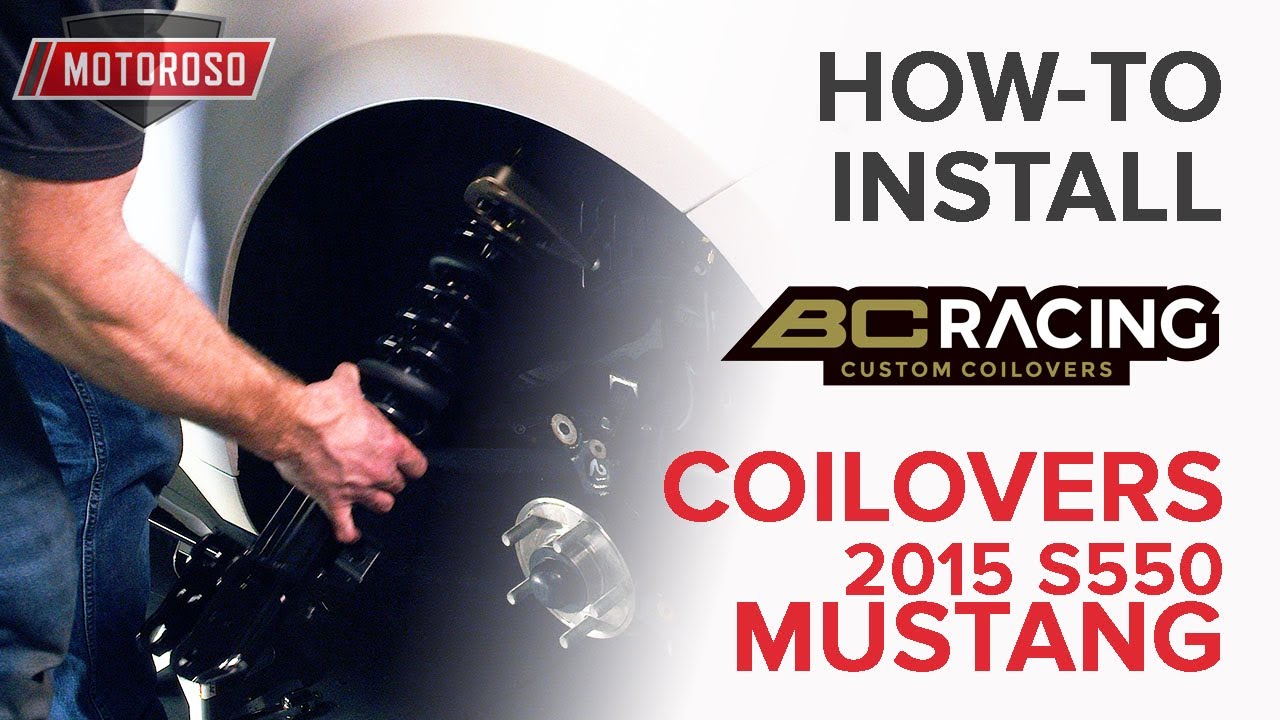
This is our installation guide article on the BC Racing BR Series Coilover kit on our S550 Mustang build project. We’ve got a bunch of suspension upgrades in addition to this coilover kit, including sway bars, end links, and bushings, and we have videos covering each of our suspension modifications. This sway bar kit works on all S550 Mustangs, except the GT 350 and the GT 500. It’ll set you back around $1,000 and it’s available for purchase on Motoroso.com, where you can browse over a million top name-brand products sold by trusted vendors at great prices, and the shipping is always free with no minimum. We have also written a product spotlight article on this BC Racing Coilover kit, so check that out for all the information on this kit. Let’s get started.
VIDEO: BC RACING COILOVER SPOTLIGHT
VIDEO: BC RACING COILOVER INSTALLATION GUIDE FOR S550 MUSTANG
For tools, you’re going to need:
- Breaker Bar or ratchet
- 13-21mm Sockets
- Panel Puller or a Flathead Screwdriver.
How to Install the Rear Coilovers
- Start by jacking up the car at the rear from the differential and put it on jack stands.
- Remove the wheels.
- Remove the (2) 18mm upper mounting bolts on the shock.
- Remove the lower (2) 15mm bolts from the lower control arm and remove the shock.
- Place your jack under the differential to support the subframe.
- With the subframe supported, loosen the (4) 13mm bolts for the subframe support brackets.
- Remove the (2) 21mm subframe bolts and lower the subframe down with the jack at the differential to gain enough room to remove the coil springs.
- It might be nice to have a friend around to give you a hand pushing down on the subframe to remove the spring.
- Make sure to set up your new spring with the adjustment collar and rubber isolator.
- Have that friend press down on the subframe again and slide the new spring into the lower control arm spring bucket.
- Jack the subframe back into place.
- Reinstall the blue 21mm subframe bolts.
- Tighten up the (4) 13mm subframe support bracket bolts.
- Once fully in position, make sure to revisit those (2) 21mm subframe bolts to make sure they’re fully tight.
- Remove the 15mm hold-down bolt off the top of the shock, and remove the top hat from the OEM shock.
- Install the damping control to the top of the shock and adjust to a good middle ground at 15 clicks.
- Make sure to zip tie the dust cover in place on the shock.
- Apply thread locker to the shock mounting bolts.
- Begin installing the new shock by reusing the OEM 15mm lower mounting bolts and 18mm upper mounting bolts.
Now you’re all done with the rear and you can reinstall your wheels and let’s move to the front.
How to Install the Front Coilovers
- Jack up the car, and please Jack stands under each corner.
- Remove your front wheels.
- We recommend removing the brake caliper to gain clearance for the mounting bolts on the coilovers and the sway bar end links.
- With the brake caliper out of the way, you can remove the rotor to gain clear access to the coilover mounting points.
- With the open space, you can now begin removing the (2) 21mm nuts to free up the mounting bolts.
- Free the brake line from it’s mounting points, making sure to keep it out of the way.
- Undo the end link from the coilover using a 17mm socket and 17mm wrench.
- Tap the spline mounting bolts from the drop knuckle, and remove the coilover from the drop knuckle.
- Remove the (3) 15mm upper mounting nuts and remove the coilover from your car.
- Prep the new coilover by making sure the lock collars are fully tight.
- With the coilover prepped, install it with the new supplied 17mm upper mounting nuts first, and once the coilover is hanging up in the wheel well, get into position to mount it onto the drop knuckle.
- With the drop knuckle in position, put the OEM lower mounting bolts in place, thread the nuts on and make sure to get them fully tight.
- With the coilover in place, install the new supplied end link using either (2) 18mm wrenches or 18mm wrench and 6mm Allen wrench to tighten them in place.
- Reinstall the brake line into its mounting points.
- Reinstall your brake, caliper and rotor.
- Reinstall your front wheels and lower the car back down under the ground, then you’re all done.
That wraps up the installation of our BC Racing BR Series Coilovers on our S550 Mustang build project. We’ve also got Whiteline sway bars and end links, as well as a bunch of Whiteline bushing kits installed, so make sure you check out those videos on YouTube.
After you’ve installed your coilovers, you’re going to want to look at your basic setup. We’ve made a few videos to show you how to set the damping controls, ride height, and spring preload so make sure to check those out as well. Once again, this coilover kit is going to set you back around $1000 and you can shop for that and over a million top name-brand products sold by trusted vendors at great prices, and the shipping is always free with no minimum at Motoroso.com, your dedicated auto parts marketplace.
BUY YOUR BC RACING E-32-BR COILOVERS FOR THE S550 MUSTANG HERE!!!
Adjusting Your BC Racing Coilovers
How to adjust Damping:
How to adjust Spring Preload:
How to adjust Ride Height:


