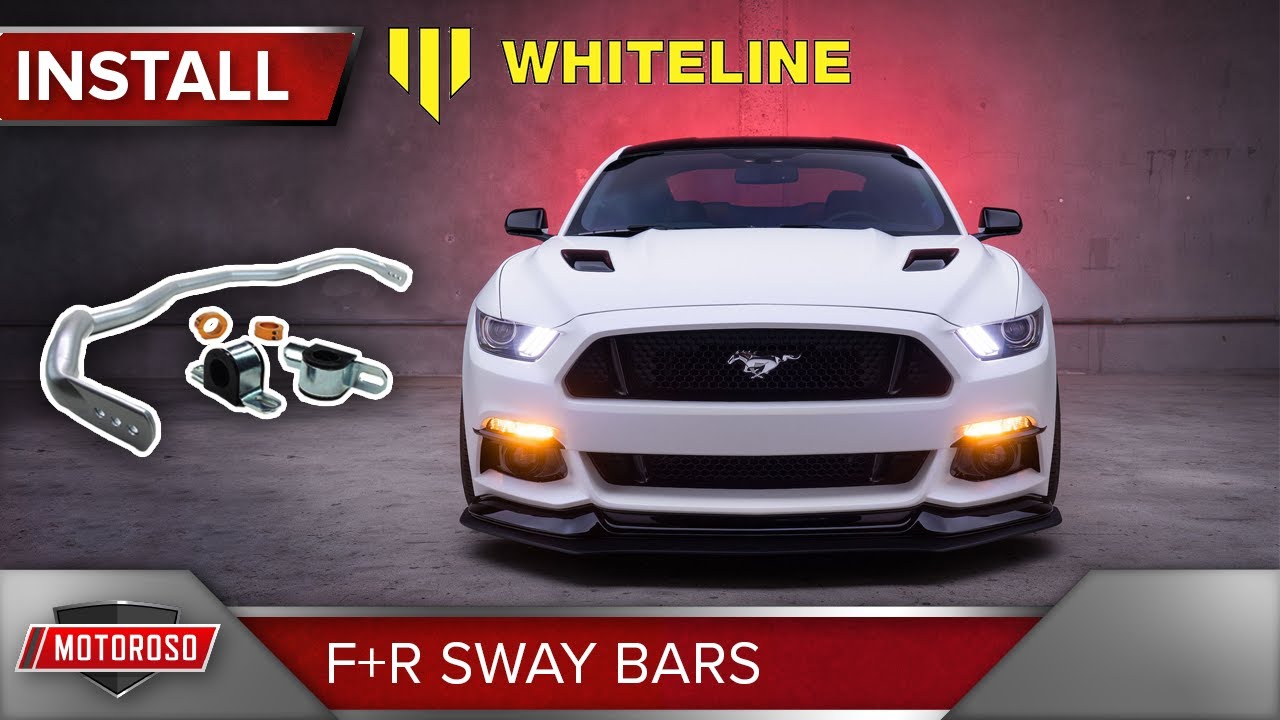
How to Install Sway Bars on the S550 Mustang GT
This article is our install guide on the Whiteline Sway Bar and Adjustable End Link Kit on our S550 Mustang project build. We also have the BC Racing coilovers installed, so the combination of these two is going to make this handling package fantastic. This should be a really easy step-by-step instruction for you to follow along. You can shop for this Whiteline kit and over a million top name-brand products sold by trusted vendors at great prices, and the shipping is always free with no minimum at Motoroso.com. Let’s get started.

We made a detailed article about the features of this Whiteline Sway Bar Kit, as well as a product spotlight video so go ahead and check that out, but for this installation article, we’re going to be taking you through the installation process step by step. We’re going to be uninstalling the old equipment, then we’re going to be installing new bushings, sway bars, end links, and lateral locks. We’re going to be doing this front and rear. The rear is much easier than the front, but the front can definitely be done, there are just a couple of nuances, so follow along with the instructions as we go.
VIDEO: SWAY BAR INSTALLATION GUIDE FOR THE S500 MUSTANG GT
How to Install Front Sway Bar and End Links
- You’re going to start by jacking up the car, putting it on jacks
- Remove your front wheels.
- Remove your cold air intake.
- With your intake removed, you’ll now have access to the (2) 18mm sway bar mount bolts. You’ll quickly find out that you can only remove one from the engine bay with a long extension. The other one you’ll have to access from the driver’s side wheel well using a box wrench.
- On the passenger side, it’s much easier and both bolts can be removed from the top using a long extension and an 18mm socket.
- With all (4) 18mm bolts out, begin undoing the end links with a 6mm Allen wrench and an 18mm combination wrench.
- Now that the end links are removed, you can fish out the sway bar by pulling it straight out and turning it to slide underneath the lower control arm.
- Now you’re ready to slide the new sway bar in the same way you took the first one out. Make sure you pay attention to the orientation of the bar so you don’t installation it back once you get it. Once you get it most of the way in it’s actually helpful to finish pulling it through from the driver’s side.
- First, slide your bushing on from the passenger side wheel well and your second bushing on the driver’s side from the engine bay.
- Apply thread locker to your OEM hardware for the bushing hold-down brackets.
- Place your sway bar bushing hold-down brackets and thread your OEM hardware back in, but don’t tighten them down just yet.
- With your sway bar in place, it’s time to start putting in your end links. We recommend that you leave the lock nuts loose because you can have to adjust them with some weight on the vehicle.
- Go ahead and tighten down the sway bar end links using a 17mm wrench and a 6mm Allen, so that they’re mounted in place. We recommend using the middle mounting hole on the sway bar as your medium initial setting. And you can adjust this later after you’ve had a chance to drive the vehicle.
- Make sure to center the sway bar on the vehicle, having an equal distance of the sway bars from the strut on each side.
- Fully tighten up all of the (4) 18mm sway bar hold-down brackets, making them nice and tight.
- Install the supplied lateral locks, making sure that they’re butted up nicely against the bushings.
- For the passenger side, you’re going to need to move the coolant reservoir tank out of the way.
- With everything installed, go ahead and reinstall your intake.
- Reinstall the wheels.
- Lower the car down onto an elevated level, like bricks or blocks, so that you’re still elevated and can access underneath the vehicle, but the suspension is actually weighted so that you can then adjust your end links.
- Adjust the end links by rotating it until it’s loose, and then moving it just to when you have initial tension and load on the bar, then tighten the lock nuts on both ends of the sway bar end links.
- Repeat this on the left and the right side.
That’s the front end done and you can put the car down. Let’s move to the rear.
How to Install Rear Sway Bars and End Links
- From the rear of the car, jack it up from the differential and place the car on jack stands.
- Use an 18mm wrench and a 6mm Allen to remove the stock end links.
- Remove the (4) 13mm sway bar hold-down bolts.
- Remove the rear wheel, to finish sliding out the sway bar.
- With the old equipment out of the way, you can now place your new sway bar up into position, ready to mount.
- Make sure you get the orientation right, otherwise your sway bar end link won’t connect properly.
- Lubricate your bushings with the supplied poly bedroom grease, and don’t be shy.
- Place your new bushings over the sway bar, close to the mounting point.
- Place your bracket and thread your bolts back in making sure to use some thread locker, but don’t tighten these down just yet.
- With the sway bar in place, install your new adjustable end links using a 6mm Allen and a 17mm wrench.
- Tighten down these brackets, remembering to leave the lock nuts loose.
- Making sure to center the sway bar to the car, tighten down your (4) 13mm hold-down bolts for the sway bar.
- Install the supplied lateral locks, making sure that they’re butted up nicely against the new bushings.
- Just like in the front, reinstall your wheel and lower the vehicle down onto blocks, so it’s still elevated, but the suspension is loaded.
- Use (2) 17mm open-ended wrenches to carefully adjust the position of your sway bar end links to the initial load, and then tighten down your lock nuts.
- Get your vehicle back on the ground, and you’ve finished the installation of your Whiteline front and rear sway bars.
That wraps up our installation article for the Whiteline Sway Bar Kit. If you want to shop for these products and more go to Motoroso.com where you can browse over a million top name-brand products sold by trusted vendors at great prices, and the shipping is always free with no minimum. Thanks for reading.