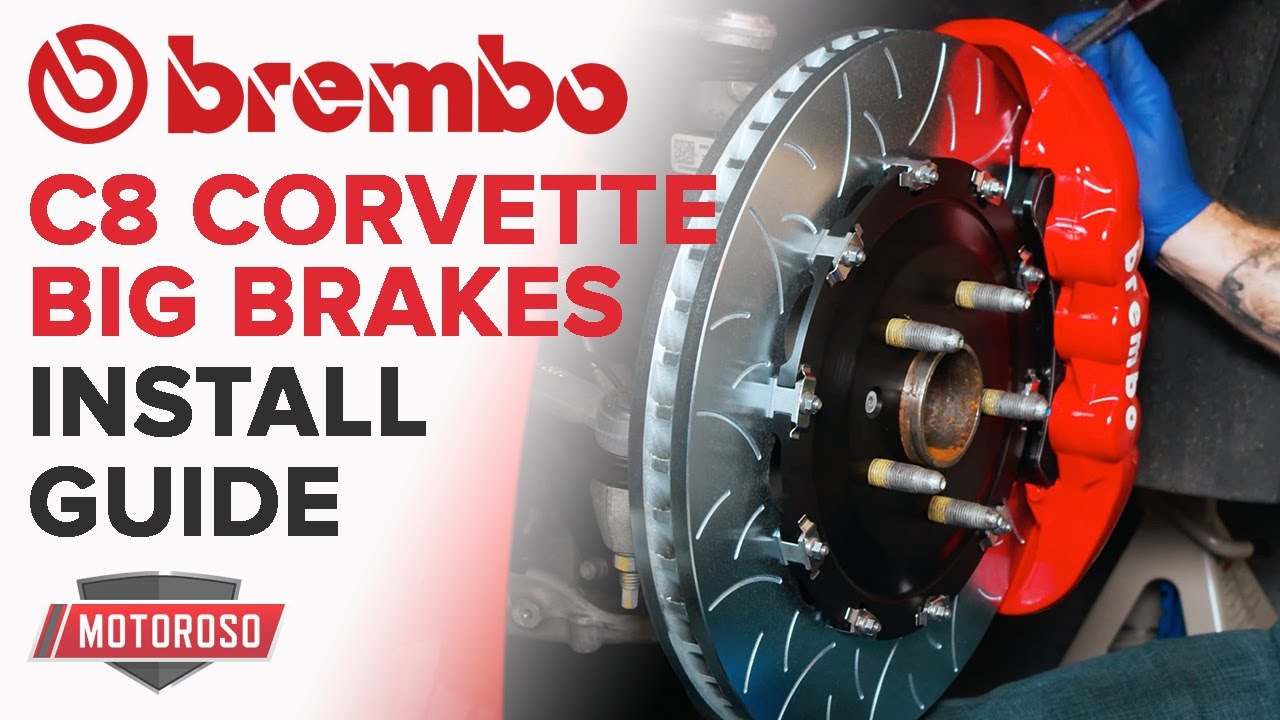
How to Install a Brembo BBK on the C8 Corvette
This article is an installation guide on the Brembo GT system with the BM6 “Alien Fist” caliper on our 2020 C8 Corvette. We’ve been having problems with the stock brakes on this Corvette and this is going to be the solution. We made a separate article and video about it all the features and functionality of this brake kit. We are an authorized Brembo dealer and we sell over a million other top name-brand products at great prices so if you’re shopping for mods why go to some big mega-retailer check us out at Motoroso.com you can reach us on live chat or you can call us toll-free at 833.MOTOROSO; we are here to help you find the mods that you need. Let’s go!
VIDEO: HOW TO INSTALL THE BREMBO GT BBK ON THE C8 CORVETTE
Alright so we’re going to be doing a step-by-step installation guide for you here and the tools you’re going to need are going to be really basic ratchets and sockets you’re going to have in any garage you don’t need any special tools to do this job.
Overview
First, we’re going to take the wheels off, then the calipers, then the rotors, and that OEM stuff can get set aside. Then we’ll be putting the new rotor on, the new bracket from Brembo, and then we’ll mount the caliper in place. Once we’ve done that we’ll quickly remove the brake line from the back of the OEM caliper and move it over to the new Brembo caliper with the supplied banjo bolt. You’re going to tighten that banjo bolt down to 20 newton-meters–that’s only 177 in/lbs of torque–make sure you do not over-torque and break that banjo bolt or you’re gonna be really sad about it. Then we’ll torque down the bracket bolts for the caliper to 115 newton-meters which is 85 ft/lbs of torque, we’ll repeat that on the left side, then we’ll bleed the whole system.
Do not forget you’re going to have to perform your brake bedding-in procedure. This is how you heat up the rotors and the pads and mate them together and then once everything cools down this is going to give you the maximum braking performance from your brand new Brembo GT system with this BM6 caliper. Let’s go ahead and get started.

Installing the Brembo Front Brake Kit
- With the car on the ground, loosen the lug nuts with a breaker bar.
- Jack the car and place it on jack stands making sure to use the right location on your c8 corvette and avoid potential damage.
- Finish removing the lug nuts in the wheels.
- Remove both caliper bolts with a 21mm socket
- Carefully set aside the caliper being careful not to hang weight from the brake line. We used a stool and a rag.
- Use a Torx 30 bit to remove the set screw from the rotor.
- Pull off your OEM rotor.
- Apply blue Loctite to the OEM caliper bolts which we will reuse to attach the Brembo bracket.
- Fasten the Brembo bracket to the spindle and torque these bolts to 125 ft/lb.
- Place the new Brembo rotor in place making sure that the set screw hole lines up with the hole on the hub replace the Torx 30 set screw.
- Apply loctite onto the Brembo supplied caliper bolts
- Position the new Brembo caliper on the rotor and insert the bolts to attach the caliper to the bracket.
- Torque these bolts to newton meters that’s 85 ft/lbs.
- We place the OEM caliper on a rag on the ground so that we can remove the brake line and quickly transfer it over to the new caliper with the supplied banjo bolt from Brembo. however, this is where we ran into a surprise the OEM brake line banjo bolt is held in place by a stubborn press-fitted copper washer, and this must be destroyed to be removed. We were able to do that with a small flathead screwdriver.
- With the old banjo bolt slide in the new one and thread it into the new caliper.
- Torque this banjo bolt to 20 newton-meters which is only 177 in/lbs of torque. Do not over-tighten this bolt. This does make a little mess so clean the caliper and your work area of any additional brake fluid.
- Put the old caliper somewhere to drain the old brake fluid out.
- Repeat this process on the opposite side of the vehicle.
Once you’ve finished installing the kit on both sides you’re ready to bleed the brake system.
As you can see, that installation was really straightforward. Everything went together really quickly and the only weird thing was that the copper washer on the stock OEM brake line is a retaining washer and we really had to pry that off. I don’t know if there’s an easier way to do that we didn’t find one we just ripped it off, and we made a little bit of a mess with brake fluid, but otherwise, everything else was really straightforward.
Bleeding Process
Then the bleeding process. Apparently, with the new C8, there is a strange brake booster system that’s pretty new to this car and it can cause air to enter the system when you’re doing a normal brake bleeding procedure. We got the pedal to feel relatively firm and the brakes were clamping down, but just to be on the safe side, we’re taking it down to our dealership tomorrow to have them fully flush and bleed that system out just to be on the safe side. Before the installation is done, and before we can go to the racetrack, we’ve got to do our bedding in procedure.
Brake-In Procedure
In your kit from Brembo, you will have a big orange piece of paper that will outline that break-in procedure. It’s something like 20 stops from 60 mph to 20 mph at 60% force, let it cool for five minutes, then 5-10 stops at 80% percent force from 80 mph to 20 mph, and then let it cool for 10 more minutes, then the system is ready to go.
When you’re ready to buy any and all these products plus a million other top brands at great prices, check out Motoroso.com where you can reach us on live chat or call us toll-free at 833.MOTOROSO. We are here to help you with your needs. Why go to some big mega-retailer when we’re here to help you find the mods you need at great prices. Thanks for reading.