One of the most popular modification options for a truck is a lift kit. Sometimes, this can be as complicated as completely new leaf springs, shocks, and even subframe changes. The simplest kind of lift, however, is a front leveling kit: since trucks come from the factory with a slight rake (meaning the truck appears to have a rear lift when the bed is not loaded), adding front strut spacers to even out that rake can lift the front of the truck by 1-3 inches. This allows for larger tire sizes and better off-road capability, as lifting the front ride height increases ground clearance and approach angle. Because the actual springs and struts are not changed, this does not change the factory ride quality, and the truck should drive like it did before the install.
This leveling lift kit from MaxTrac should take about 2 hours for normal install. It includes front strut spacers, 1” front spacers for a necessary differential drop, ½” spacers for skidplate, and all the hardware necessary for installation. While this kit is marketed for the 2018 Tacoma, it also fits most 2003-2019 6-lug off-road vehicles from Toyota including Tacomas, FJ Cruisers, and 4Runners.
Necessary Tools
- Breaker bar
- Torque wrench
- Crescent wrench
- Large and small ratchets
- 14mm ratcheting box wrench
- 12mm-22mm sockets
- Extra deep 14mm, 19mm, 22mm sockets
- Socket adapters
- LocTite
- Grease pen or Sharpie
- Rubber mallet
Installation Instructions
Step 1: Loosen the wheel lug nuts with the breaker bar. Jack the front end of the truck up by its crossmember brace, and replace the jack with a jackstand. Take wheel all the way off.
Step 2: There are 2 bolts at back of skidplate, and 2 at front; they are all 12mm. The skidplate tips to the front and hooks off the rear.
Step 3: Use the jack to relieve tension on the swaybar link. Use a 17mm socket and a breaker bar to get it loose.
Step 4: Put the jack under lower control arm. Lift the jack until the swaybar link visibly loosens.
Step 5: Slowly lower the jack, releasing the lower control arm.
Step 6: Mark on the camber plate as a reference point for reinstallation! Note, this is not a replacement for a proper alignment.
Step 7: Loosen lower control arm with 21mm socket and crescent wrench. Do NOT remove it, just loosen it!
Step 8: Use 14mm ratcheting box-end wrench to loosen the 3 nuts at the top of the suspension tower. A mallet may be useful, or even necessary, to convince these bolts.
Step 9: Loosen the bolt at the bottom of the strut with a 19mm socket.
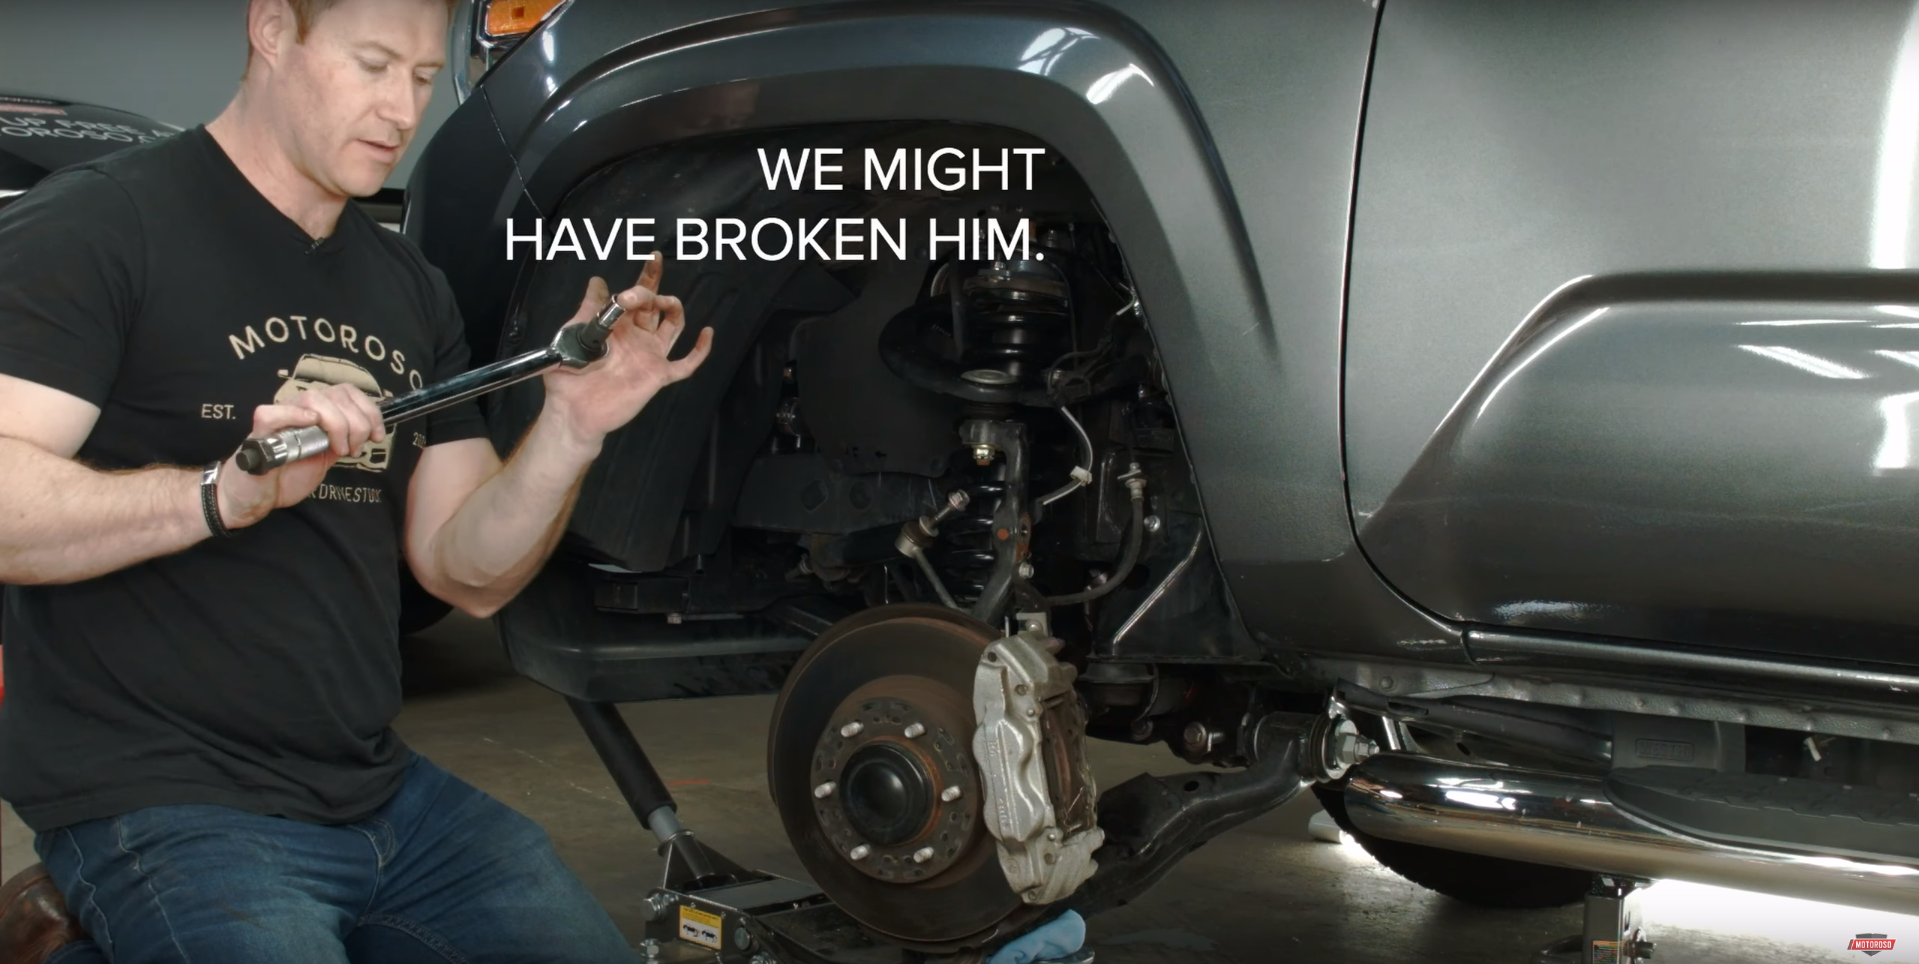
Step 10: The steering knuckle bolts are 24mm. Use a breaker bar to free both front and back.
Step 11: Knock the bottom bolt out of the shock strut, and the lower control arm should be free. Keep the jack under the control arm so it doesn’t fall away too far.
Step 12: Remove the nuts from the top of the shock strut, and ease the strut down and out past the lower control arm.
Step 13: With the shock removed, lightly grease the strut spacer and slide it over the stock posts on the strut. Attach the spacer to the strut with the new 14mm nuts included with your kit. Consider adding LocTite to these nuts to ensure that they hold. Tighten them to 60 ft/lbs with a torque wrench.
Step 14: Slide the strut back in past the lower control arm, sliding the new bolts into the stock strut tower mounting point. Tighten the stock 14mm nuts at the top of the strut tower to 60 ft/lbs with a torque wrench.
Step 15: Reconnect the lower control arm to the base of the shock, fastening it with a 19mm socket.
Step 16: Use the jack to lift the lower control arm up towards the steering knuckle. Replace the steering knuckle bolts using a 24mm socket, torquing them to 100 ft/lbs.
Step 17: Replace the swaybar link; make sure both sides of the truck are jacked up evenly so that the swaybar will be in-line! Thread the nut back on by hand.
Step 18: Torque the lower shock bolt to 100 ft/lbs, and tighten the swaybar link to 60 ft/lbs.
Step 19: Repeat steps 1-20 on opposite side of the truck.
Step 20: Use a 22mm socket on a breaker bar to loosen the differential brace bolt. Once it is loose at the top, it will be able to pull down and out. Don’t lose the bushings from either side of the bolt!
Step 21: New differential brace bolts are included with your kit. Slide one of those into place along with the original bushings in their normal spot AND the 1” differential drop spacer in the middle. A rubber mallet may be necessary to coax it up into the chassis. Use a torque wrench to tighten the bolt to 100 ft/lbs. Repeat this for the other side of the differential.
Step 22: Lower the truck until the wheels are on the ground. Use a crescent wrench to realign the camber bolts with their original position. Use a 21mm socket and torque to 100-150 ft/lbs.
Step 23: Use the stock bolts to reattach the skidplate at the front, and use the new ½” spacers and M8 bolts from your kit to reattach the rear.
Congratulations!
You have completed the installation of your new leveling kit! Get out there, climb some rocks, hop some curbs, and turn some heads.