Basic maintenance is an important part of owning a vehicle. One of the best jobs to do at home is a brake service or upgrade. On vehicles with disc brakes, this consists of a change of brake pads, the resurfacing or replacing of the rotors, and a proper bedding and break-in process. Brake pads in normal vehicles last 30,000-50,000 miles on average, but some performance vehicles can see higher pad wear, with life as low as 10,000-20,000 miles. Inspect your brakes regularly to make sure you’ve got enough life left on the pads for your next road trip! If you are hearing brake noise like squeaking a squeal every time you stop, they are likely in need of replacement. If the brake pedal is extremely soft or you notice your vehicle is losing brake fluid, be very careful; this may be a sign of a more serious issue, from a severed brake line to a damaged master cylinder.
This how-to guide was made based on a 2015 Ford F-150, but should serve as a general guide for servicing your brake pads and rotors at home. The socket sizes and number of bolts may vary for your particular vehicle.
Necessary Tools
- Extendable ratchet or breaker bar
- 13mm, 19mm, 21mm sockets
- Rubber mallet
- C-clamp
- Torque wrench
Installation Guide
Step 1: Use a floor jack and jackstands to lift the front wheels of the vehicle off the ground. Use your breaker bar or an airgun to loosen the lugnuts before lifting the tires fully into the air. Once the tires are no longer touching the ground, continue to remove the lugnuts so you can remove the wheel.
Step 2: Remove the two 13mm bolts from back of the caliper. Once you take the outer caliper off, set the brake caliper up so it is positioned out of the way, but not hanging by the brake line. This way, you do not risk pressurizing the brake fluid in the line, which would push the caliper piston out and make it
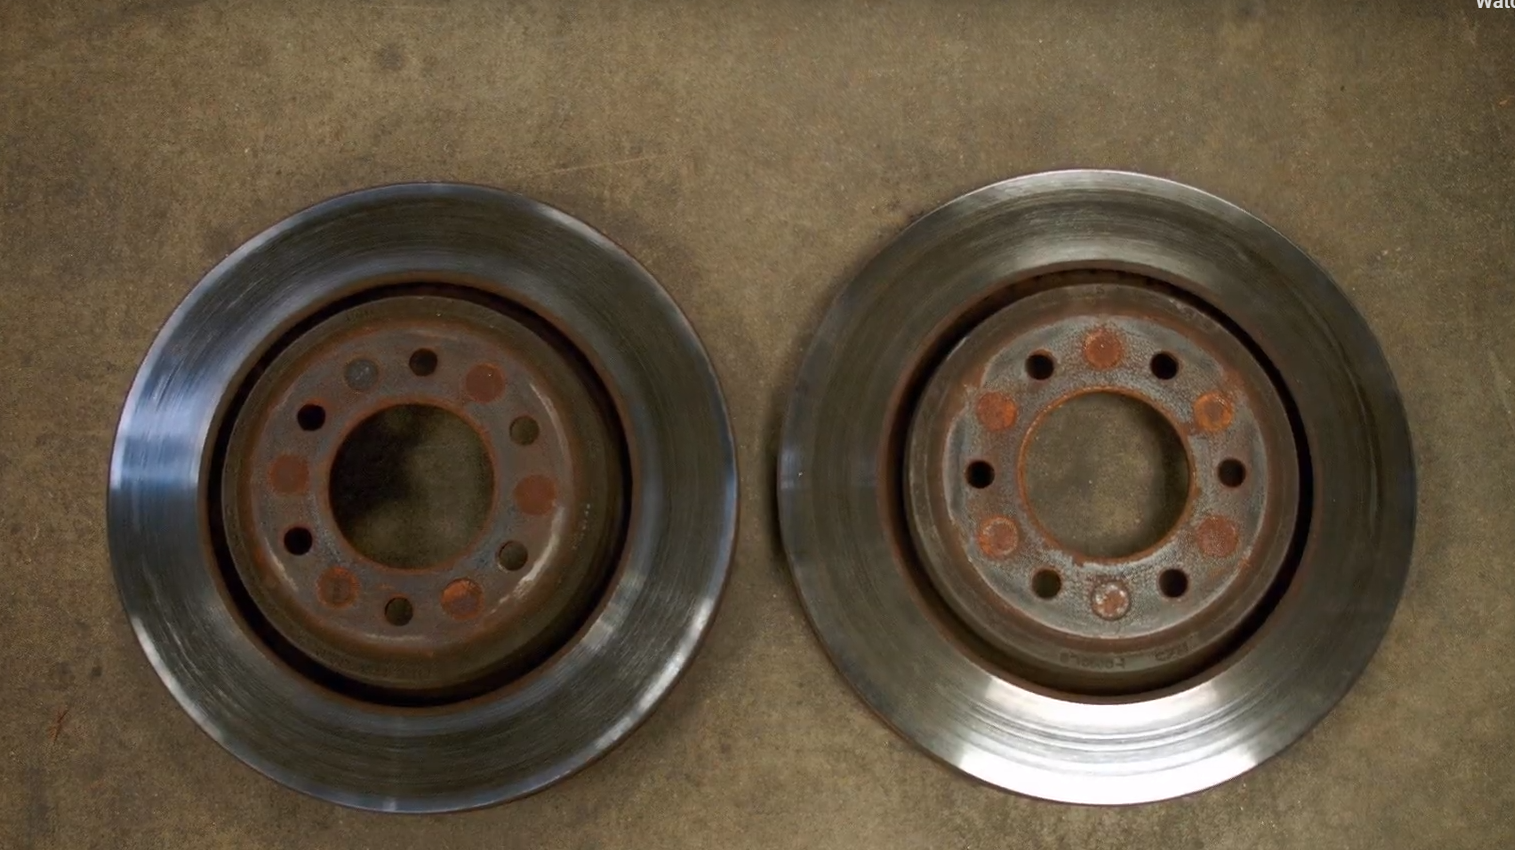
Step 3: The rotor should slide straight off after removing the two 21mm inner caliper bolts; if you are replacing the pads, you should either have the rotors faced replace them with a brand new rotor.
Step 4: The old pads should easily twist out of the inner caliper; then, pull the retaining tabs out, and replace them with new ones. The new pads should slide in right over the new retaining tabs.
Step 5: Mount the inner caliper with the new pads straight over the brake rotor, lining up the top of the caliper with its bolt thread. Thread it slightly, allowing the caliper to hang and automatically lining up the bottom of the caliper with its bolt thread. Tighten both 21mm inner caliper bolts.
Step 6: Lightly grease the backs of the new brake pads. Then, press the pistons of the outer caliper assembly back in using a c clamp and an old brake pad. This will make it easier to place the outer caliper back over the new brake pads. Tighten the 13mm outer caliper bolts.
Step 7: Lower the vehicle on the jack and tighten the lugnuts before setting it all the way back down onto the ground. Repeat steps 1-7 for the other 4 wheels of your vehicle.
Step 8: Take your vehicle on a test drive to a place where you can properly bed the brakes. Be careful along the way, as the brake pedal may feel unusually soft as the brake system has not yet adjusted to the new pads. Bedding the brakes is a procedure where, travelling in a straight line, a vehicle brakes from 45-15mph 3-4 times in a row. Then, do some aggressive braking from 60-15mph about 10 times. This allows the brakes to properly respond to heat and mates the new pads with the rotors. Be sure to let your brakes cool for 10-15 minutes afterwards.
Congratulations!
You have successfully completed a brake pad and rotor service on your vehicle! Use them well.