Icon Vehicle Dynamics Leveling Kit for the Ford Raptor and Installation Guide
This article is a product spotlight and installation guide for the Icon Vehicle Dynamics Attitude Adjustment leveling kit for the 2017+ Ford Raptor. We’re going to talk a little bit about the features of this product, then we’ll have a step-by-step installation guide. If you want to buy this product or any others go to Motoroso.com where you can browse a million top name brand products sold by trusted vendors at great prices, and the shipping is always free with no minimum. Let’s dig in.
VIDEO: 2ND GEN FORD RAPTOR LEVELING KIT DETAILS AND INSTALL GUIDE
Just like most trucks that come from the factory, the Raptor is no different in that it sits about two inches higher in the rear to accommodate for a load going in the bed of the truck so the truck goes back to being level. But like everybody else, 99.5% of the time, you’re probably driving around with nothing in the bed of the truck. Instead, the truck looks a little bit raked forward. A leveling kit is a way that you bring up the front end of the truck about 2” and make the whole thing look level.
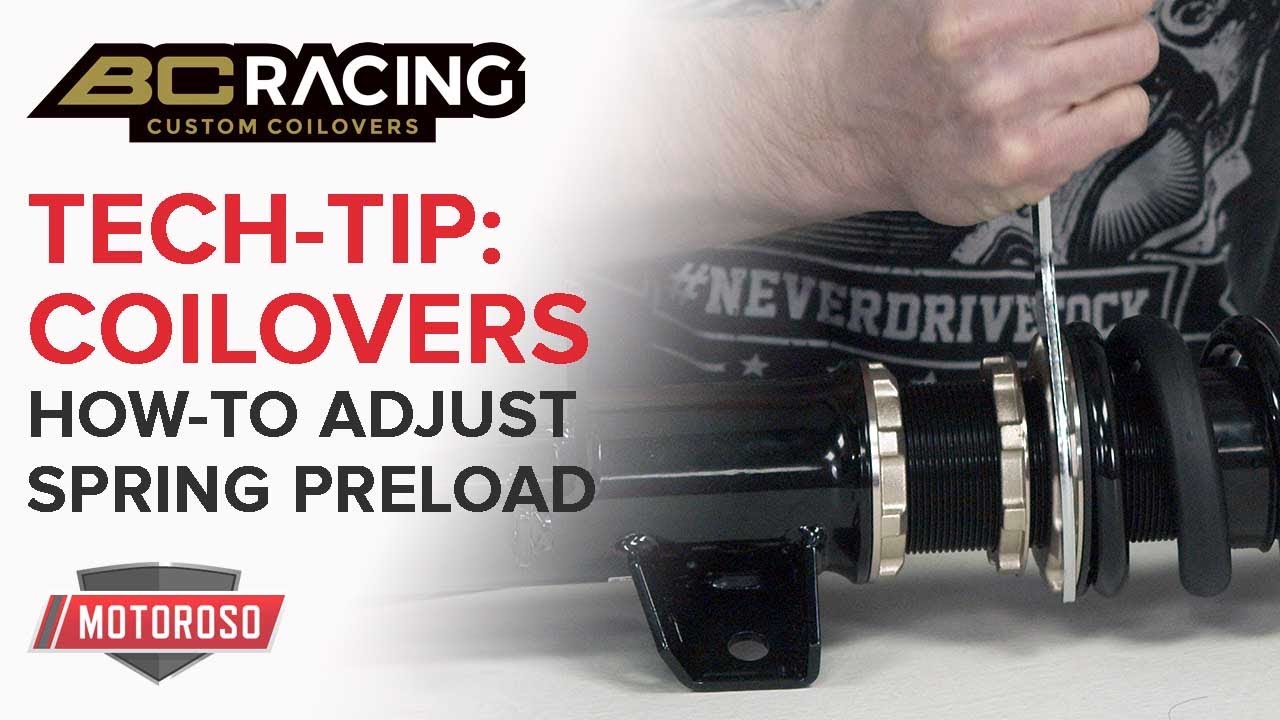
Now, typically a leveling kit is a strut spacer, and this Icon Vehicle Dynamics kit is a little bit different than most other leveling kits. It does include a stretch spacer, but that strut spacer is only about ½” thick. Then it includes this collar that goes around the strut itself and effectively adds preload to the spring so that the truck sits a little bit higher. What’s cool about this setup is this actually enables five different setting options from the one same kit. A lot of times when you get a leveling kit, it’s just a 2”, 3”, or whatever it is, but in this case, you have five different settings to choose from, and I’ll take you through them.
One option is to just use the spacer and get a ½” of leveling lift in the front. That’s not a lot, obviously, probably barely even notice that I don’t think most people are buying this kit just to put that spacer in. You can then use the collar upright and just use the 1.5” setting, which will give you 1.5” if you use the spacer. If you don’t use a spacer that gives you 1” of lift.
Next, you can turn the collar downwards, not run the spacer, and that gives you 1.75” of lift. Then if you run it with the 1.75” and the spacer, then that will be your full 2.25” of lift. Now we’re going to install this with the 1.75” lift, we don’t want the full 2.25” lift, so we’re not going to use the spacer, but we’ll show you how to use it if you want to.
Tools you’ll need for this job:
- Spring compressor
- Mallet
- 10, 18, 21, and 24 mm Sockets
- Ratchet
- 18mm ratcheting wrench
- 6mm Allen Key
- Breaker bar
Installation Guide:
- Jack up the truck and remove the wheels
- Jack up the lower control arm to release the tension in the coilover.
- Remove the (2) 10mm hold-down bolts for the ABS and brake lines.
- Remove the 18mm nut for the sway bar end links.
- Remove the 18mm upper control arm ball joint nut using a crescent wrench to hold the lower portion of the ball joint in place.
- Remove the 21mm tie rod nut, separate the tie rod from the drop knuckle and lay the drop knuckle off to the side.
- Remove the (3) 18mm top hat nuts with a ratcheting 18mm wrench
- In the engine bay, undo the wiring harness connector and feed it back down into the wheel well.
- Lower the drop knuckle assembly.
- Remove the lower 24mm bolt and nut for the shock.
- Remove any additional connectors on the spring.
- Remove the coilover from the truck
- With the coilover out, make alignment marks on the spring bucket and top hat.
- Position your spring compressors, and begin compressing the spring. If you’re using the spring compressors we recommend at the beginning of this article, we recommend not using an impact gun to make sure to maintain control over the spring compressor.
- Undo the two Christmas tree clips around the base of the coilover.
- With the wire out of the way, use a rubber mallet to move the spring bucket down the coilover to remove the two shims.
- Set up the new Icon Vehicle Dynamics collar by removing the (4) 6mm Allen bolts.
- Prep them with thread locker. We recommend using red thread locker. Now you have to be able to line up the new collar in the same position as the wedge that was previously holding the spring bucket in place.
- Make sure the collar is pressed fully into place on the strut and tighten down the (4) 6mm Allen bolts evenly.
- Line up the top hat and spring bucket like they were before using a mallet to make adjustments.
- Hammer the spring bucket down onto the Icon collar.
- With the spring bucket wedged onto the collar begin slowly and evenly removing the spring compressors.
- Install the top pad spacer, making sure it is fully pressed down on the top hat.
- Slide the coilover into the upper mount and install one of the 18mm nuts, letting the coilover, hang in place.
- Now’s a good time to have a friend help press down on the drop knuckle assembly to push the lower mount of the coilover into the lower control arm.
- Press the 24mm bolt through the lower mounting position.
- Tighten the lower mounting bolt as tight as possible. Tighten the last (2) 18mm nuts on the top hat with a ratcheting combination wrench.
- Plug in all the wiring back into its OEM position on the base of the strut and on the clip on the back of the spring, feeding it up into the engine bay.
- Jack the drop knuckle assembly up and begin installing the tie rod by tightening down the 18mm nut.
- Press the upper control arm down into the drop knuckle to get the first few threads started.
- Grab the lower end of the stud with an adjustable wrench and tighten down the 18mm nut.
- Tighten the 18mm nut on the end link.
- Reinstall the (2) 10mm bolts in tabs for the ABS and brake line to the drop knuckle.
- Bring the truck back up off your Jack stands to make sure you have enough clearance to reinstall your wheels.
- Reinstall your wheels and lower the truck.
That wraps up our installation guide for the icon vehicle dynamics, attitude adjustment leveling kit on our 2019 Raptor. You can shop for all the products that we install at Motoroso.com, where you can browse these and over a million top named brand products sold by trusted vendors at great prices, and the shipping is always free with no minimum. Thanks for reading.


