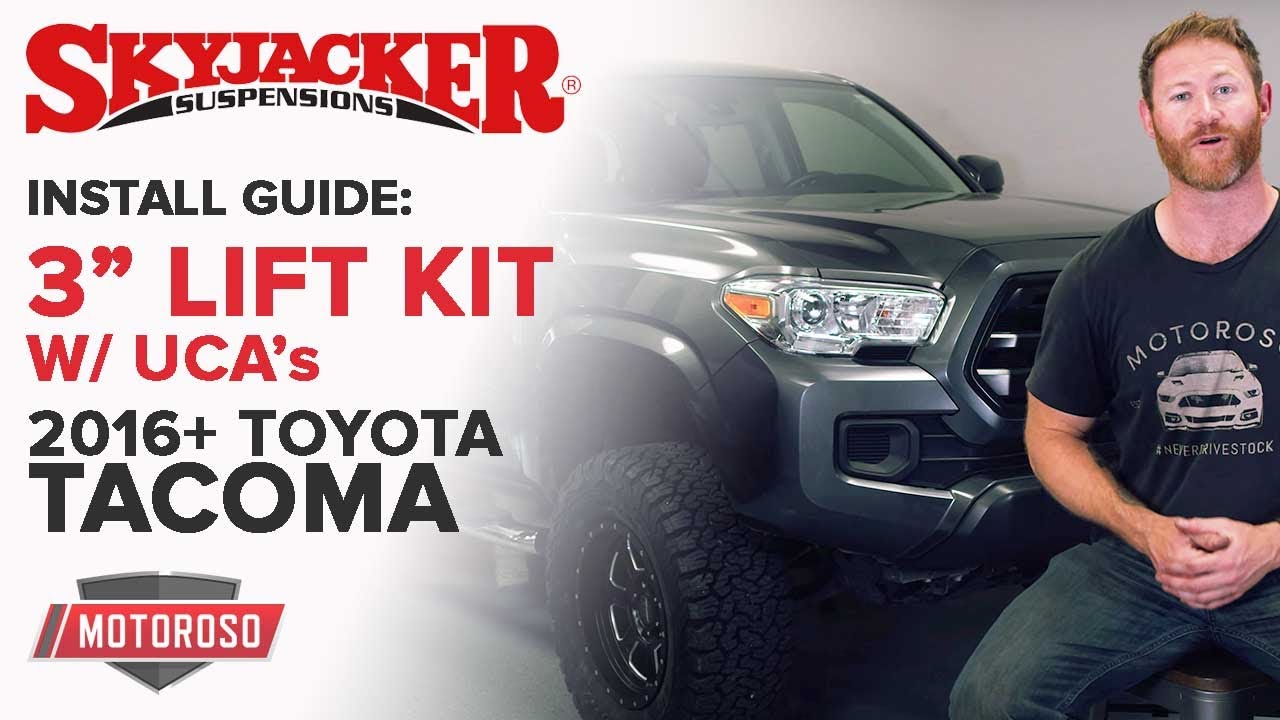
Install Guide: Skyjacker 3″ Lift Kit for the 3rd Gen Toyota Tacoma
This article is an installation how-to guide of the brand new Skyjacker 3” lift kit for the Toyota Tacoma, which includes replacement front and rear shocks and upper control arm all at under $900. We’re going to be installing 17″ pro comp wheels with 33″ BF Goodrich tire, so by the end of this install, this truck is going to be looking A-okay. You can shop for these products and all of your mod needs at Motoroso.com, where you can browse over a million top name-brand products sold by trusted vendors at great prices, and the shipping is always free with no minimum. We made a product spotlight about this lift kit from Skyjacker, so make sure you check out that video if you want to know all the details of the product, but we have a lot to install here.
VIDEO: SKYJACKER LIFT KIT FOR THE 3RD GEN TOYOTA TACOMA SPOTLIGHT
VIDEO: HOW TO INSTALL A LIFT KIT ON THE 3RD GEN TOYOTA TACOMA
Up in the front, we’re going to be replacing the shock itself, which is a MacPherson strut and we have to swap over the spring and the top hat from the stock shock. To do that you’re going to need a spring compressor. We sell some nice inexpensive ones HERE on Motoroso.com that work just great, and that’s what we’re using. We highly recommend picking up one or two sets of those then you’re working on these trucks and it makes sense to have two sets, just to be extra safe. Then we’re going to be replacing the upper control arm as well which makes it easier to get the MacPherson strut in and out.
In the rear, we’re going to be installing block lifts and the new shock, and this should be a pretty easy guide to follow along with step-by-step. There are a lot of steps, but you can almost certainly do this in your driveway with a buddy and a basic set of tools. Let’s get started.
Tools Needed:
- 10-21mm sockets and a ratchet to match
- Hammer
- Pliers
- Panel Puller
- Pry Bar
- Spring Compressors (Buy 2 sets of those HERE)
- 17mm Ratcheting Combo Wrench
- Vice Grips
Preparing the Tacoma
- Start by jacking up the truck and putting it on jack stands.
- Remove your front wheels.
- Remove the brake line brackets.
- Using a 12mm for the lower mount and a 10mm for the upper, remove the sway bar end links from the drop-nut.
- Remove the cotter pin from the tie rod.
- Remove the tie rod by separating the arm from the knuckle, using a hammer, and hitting on the flat portion of the drop knuckle.
- Remove the upper control arm cotter pin and loosen the 17mm castle nut, but do not fully remove the castle nut as the upper control arm is under tension.
- With the castle nut loosened again, hit the flat portion of the drop knuckle with a hammer to release the tension on the upper control arm ball joint.
- Rotate the sway bar up to gain clearance for the shock loosen the (3) 14mm upper mounting nuts for the shock.
- Remove the 17mm lower mounting bolt for the strut. Now you’re ready to remove the strap.
- Remove the five plastic pop clips for the dust covers in the wheel-well.
- Undo the 12mm bolt on the uppermost brake line mount found in the wheel well.
- Loosen the 18mm upper control arm mounting bolt.
Now apparently the engineers at Toyota thought that they created the greatest ball joint ever. So you’re going to have to do some sheet metal modification in order to remove the bolt and ultimately remove the upper control arm. A pry bar or a big punch will help push the bolt through and out of the mounting position.
Disassembling the OEM Coilover
- Make alignment marks on the top head of the coilover before disassembly.
- Compress the spring to release the tension on the top hat.
- Remove the top hat using a 17mm ratcheting wrench and some vice grips to hold the strut.
- Install the new strut through the OEM spring with the spring compressors still installed.
- Reinstall the OEM top hat, making sure to get it fully tight.
- After getting the top hat fully tightened down in the correct position, carefully remove the spring compressors.
Install the Front Suspension Components
- Install the new upper control arm using the OEM, and their obnoxious long bolt, leaving it loose for the time being.
- Install the newly assembled strut reusing the OEM 14mm nuts to mount the top hat first.
- Line up and install the lower mounting bolt and nut, then tighten it down fully.
- With the lower mounting point of the strut fully tightened, begin tightening the upper 14mm mounting nuts.
- Press the upper control arm ball joint into the drop knuckle, and then use a torque wrench to tighten it to 83 ft/lbs. of torque.
- Reinstall the lower ADS bracket.
- Install the upper bracket onto the upper control arm.
- Reinstall the tie rod end, making sure to align the castle nut for the cotter pin.
- Tighten your upper control arm to 88 ft/lbs. of torque.
- Reinstall the uppermost brake line and put the two dust covers back in place with the five pop clips you removed earlier.
- Install your new 33″ wheel and tire combination that fits with the new lift.
Spacing the Front Differential
With the new lift on the four-wheel-drive models, you’ll need to space out the front differential to avoid noise, vibration, and harshness in the drivetrain. We already had a spacer kit installed due to leveling kit that was previously installed on the vehicle.
- Start by removing the skin pan on the bottom to gain access to the differential.
- Loosen the two differential mounting bolts.
- Support the differential with the jack.
- Remove the mounting bolts for the differential.
- Let the differential sink down low enough to slide the spacers into place using the supplied hardware.
- Install the new 21mm bolts, washers, and nuts, tightening down to 80 ft/lbs. of torque.
- Remove the jack used to support the differential.
- Reinstall the skid plate by sliding it into the front mounting points and letting it hang while sliding the supplied spacers into place.
- Use the supplied 13mm bolts to reinstall the skid plate.
Removing the Rear Struts
- Moving to the rear, Jack up the truck and remove the wheels.
- With the 15mm lower mounting bolt for the strut.
- Holding the top of the strut, with a crescent wrench or vice grips remove the 14mm upper mounting nut.
- Remove the 12mm bolt for the emergency brake line mounting bracket on the leaf spring.
- Undo the brake line bracket from the axle.
- With the Jack still under the axle begin removing the U-bolts.
- Support the driveshaft with the jack stand and slowly lower down the axle from the leaf Springs.
Reinstalling the Rear Shocks
The spacers are directional, so make sure to pay attention to the taper as you slide them into place.
- With both spacers in place, jack up the axle back into position.
- Install the new U-bolt supplied by Skyjacker, reusing the OEM pinch bracket.
- Make sure to tighten down the U bolts in a crisscross pattern.
- Install the new e-brake extension bracket.
- Reinstall the brake line bracket to the axle.
- Assemble the new shocks by installing the lower dust cover and pressing the bushing and bushing inserts into place on the lower mounting point.
- Install the new strut, making sure that you put all the bushings in the right place and in the right order. Starting from the strut, it’s going to go: metal washer, bushing—that’ll press up against the mount point. Then on the other side of the mounting point, you’re going to have bushing, washer, then the nut.
- Slide the lower mount into place. You might need a little bit of help from your hammer of persuasion to reuse the OEM 15mm bolt.
- After tightening the lower mount, tighten the upper mount.
- Put your rear wheels back on, and you’ve just completed the installation of Skyjacker’s brand new 3″ lift kit.
All right, everybody that wraps up our installation guide for this brand new Skyjacker 3″ lift kit on the 2018 Tacoma. This fits years 2016-2020, and probably a little bit beyond, but we’ll have to see how the model’s change moving forward. This kit only costs around $900, includes all four shocks and the upper control arms. The kit looks fantastic, especially when it’s combined with our 17″ pro comp wheels and 33″ BF Goodrich K02 tires. The whole installation is done, and we showed you step by step, but of course, the last thing that you do need now is an alignment—very important.
You can shop for this kit, wheels, tires, and over a million top name brand products sold by trusted vendors at great prices, and the shipping is always free with no minimum at Motoroso.com. We have live agents and you can call us at 1.833.MOTOROSO to help you find the products that you’re looking for.